Last Tuesday was my mom's birthday and we planned a lovely little party for her to celebrate. Because it was a weeknight, we decided it would be fun to cook her dinner at her own home. What's better than a birthday party that comes to you!? We cooked some of her favorites; she's a huge fan of Mexican food, so the menu included fish tacos, fresh pice de gallo and guacamole, and chocolate angel food cake for dessert (my sister, Bee, is the best baker ever).
When I sent out an invitation to my mom telling her the details, she responded enthusiastically and made a joke about a piñata filled with laffy taffy. Keep in mind she had no idea the menu was Mexican food and that her party would be fiesta themed. I don't take piñata suggestions lightly, especially when it fits a party theme so perfectly! So, naturally, I made her one. And filled it with laffy taffy, obvi.


I contemplated just simply buying a piñata, but I was surprised by how expensive a classic donkey piñata from Target was. I ended up buying all my supplies as well as the candy to fill it from the dollar store for $6.00. That's half of the price of just the piñata! Plus, I'm sure you might have some of these supplies already taking up space among your craft supplies. Especially since I used cardboard to eliminate the time required for paper-mache. If you're confident in your craftiness, I highly recommend going the DIY route. I mean, it is going to get smashed anyway :) See how I created this colorful piñata below.


DIY PIÑATA:
SUPPLIES NEEDED
+ large pieces of cardboard (I used one of those big display boards, but a large cardboard box would work great)
+ streamers in different colors
+ duct tape & masking tape
+ a sharpie
+ scissors
+ craft glue
+ twine or rope (to hang)
+ assorted candy (to fill)
INSTRUCTIONS
+ Make sure you have two large pieces of cardboard of equal size. Sketch out the shape of the donkey's body with a sharpie. Once satisfied with the shape, cut it out. Use the cut out piece as a stencil and trace the shape onto the other piece of cardboard. Cut this out as well. You should now have two identical donkey shapes.
+ You will use the remaining scraps of cardboard to create a frame between your two donkey pieces, creating a 3D piñata. Cut strips the lengths of all the sides of the donkey's torso. Secure these pieces to one side of the donkey, using duct tape on the inside and masking tape on the outside.
+ Fill the piñata with candy.
+ Secure the other side of the donkey to the rest of the piñata, reinforcing all of the corners and joints with extra tape.
+ Pull out a few feet of streamers and fold it the length up onto itself as many times as you can. Fringe the streamers by cutting half way up them.
+ Cover the entire outside of the piñata with the fringed streamers. Start at the bottom of the legs and work up. Overlap the previous streamers a bit every time. Switch colors after a few rows of the same color have been glued.
+ Once everything is dry, your piñata is ready to hang!
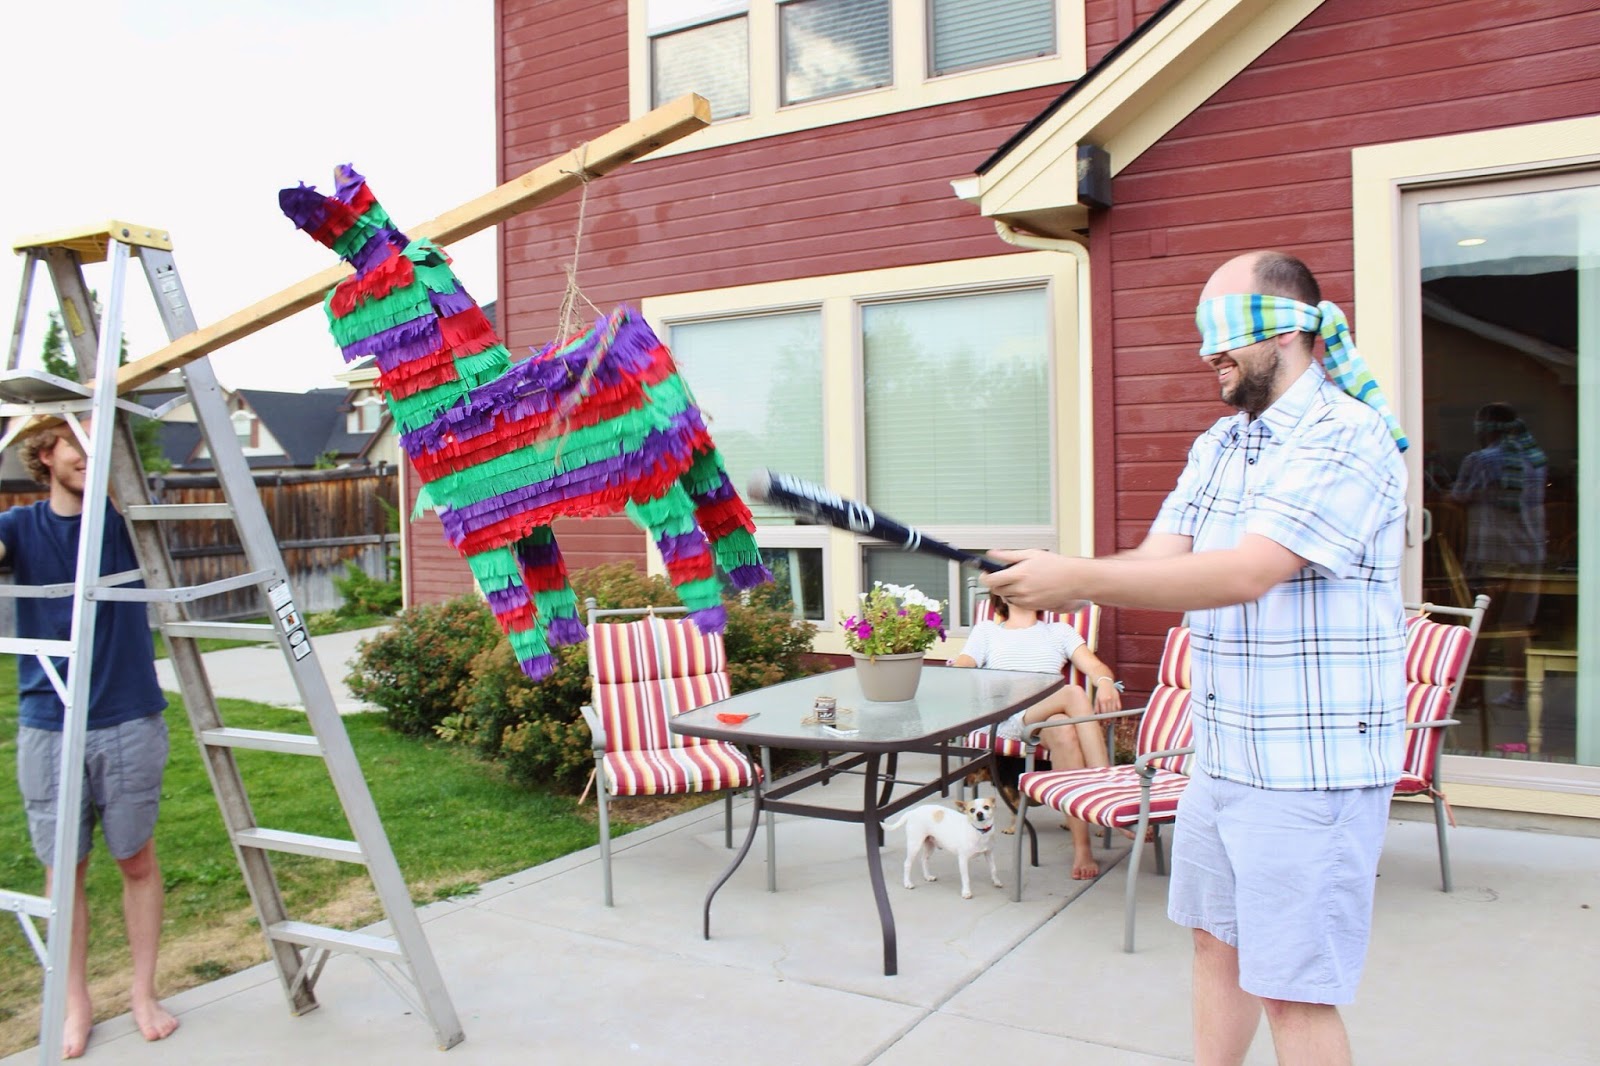
A few pictures of the piñata in action below:


Our blindfold just happened to match my mom's outfit perfectly. She had the first go at it, followed by an entertaining round by my brother-in-law, and my sister ended up breaking it open by channeling her work frustration ;) (I got a video of that one). Overall, I'd call this first piñata making endeavor a success! A special thanks to Will to holding the beam for us, as I had to use a ladder due to my mom's yard having no large trees.
Hope your Monday is treating you well!
xx Emorie


So cute and looks so easy!
ReplyDeleteThis is absolutely adorable!!
ReplyDeleteThis looks so fun to do! Now, if I was talented enough to do it, I might give it a try. Lol x
ReplyDeleteAww I love that you did something so awesome for your mom's birthday!
ReplyDeleteThis is an adorable diy!! :)
ReplyDeletewww.ensembledeux.blogspot.com